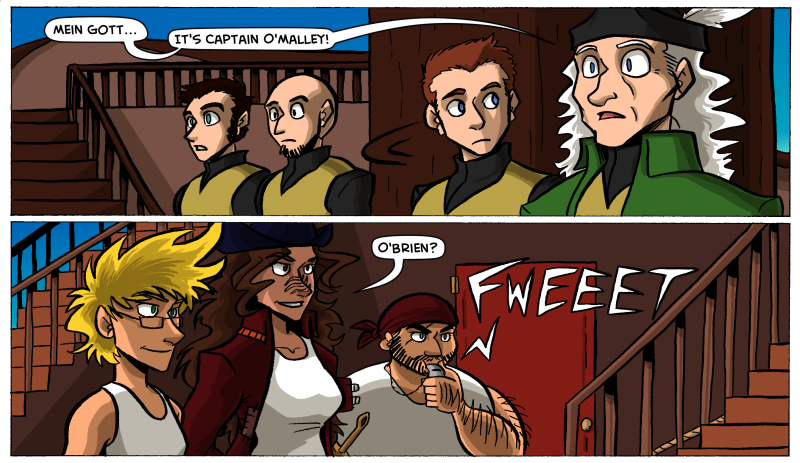
Ever since I switched from PhotoShop to Clip Studio Paint, I have LOVED how much easier Clip Studio Paint is to use.
That said, on occasion it can be a bit of a headache. One specific way it can bother me is when I’m adding shading to a comic page.
See, I cheat a lot – I’ll trace a shape over where I want my shadows to be, and then I use my Bucket tool to fill in the blanks. When I do this I often have the bucket tool set to “Refer to other layers.”
Why? Because my line work is on a separate layer from my shades. I don’t do all of my art on the same layer, you fiend.
That said, sometimes CSP will have a brain-fart, especially if the shade color is very close to a color I’m painting over. So instead of only filling in where I want, sometimes CSP will be like, “color THE WHOLE THING? OK!”
But I figured out a way around this. And it’s made producing comics WAY easier.
The secret?
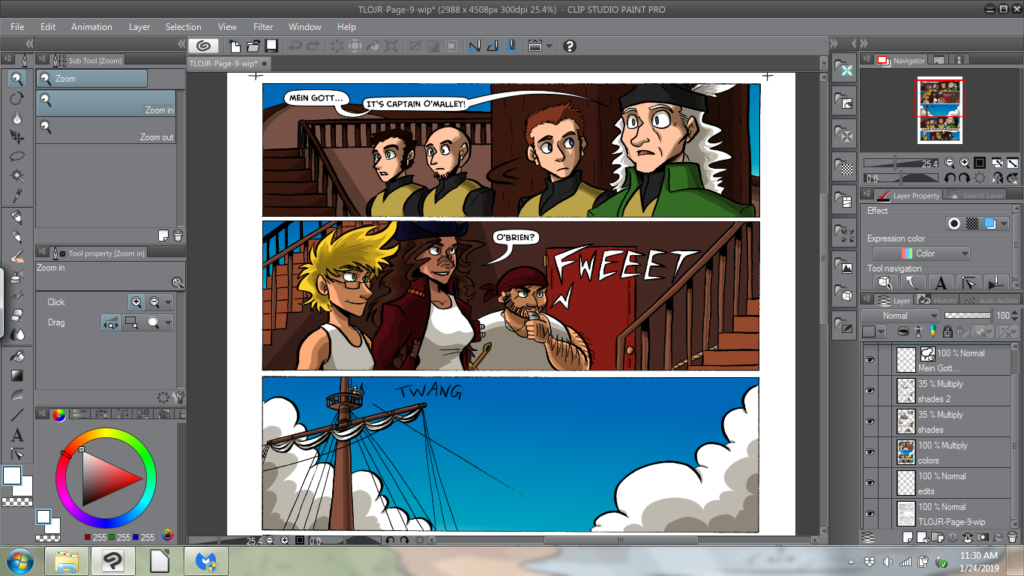
Well, I need to show how I do a comic page first.
I have the following layers to work with: the base drawing. The Edits (where I clean up lines and smudges). Colors. Shades. Letters.
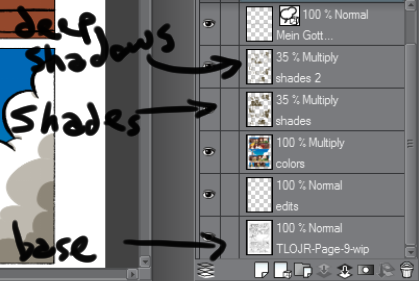
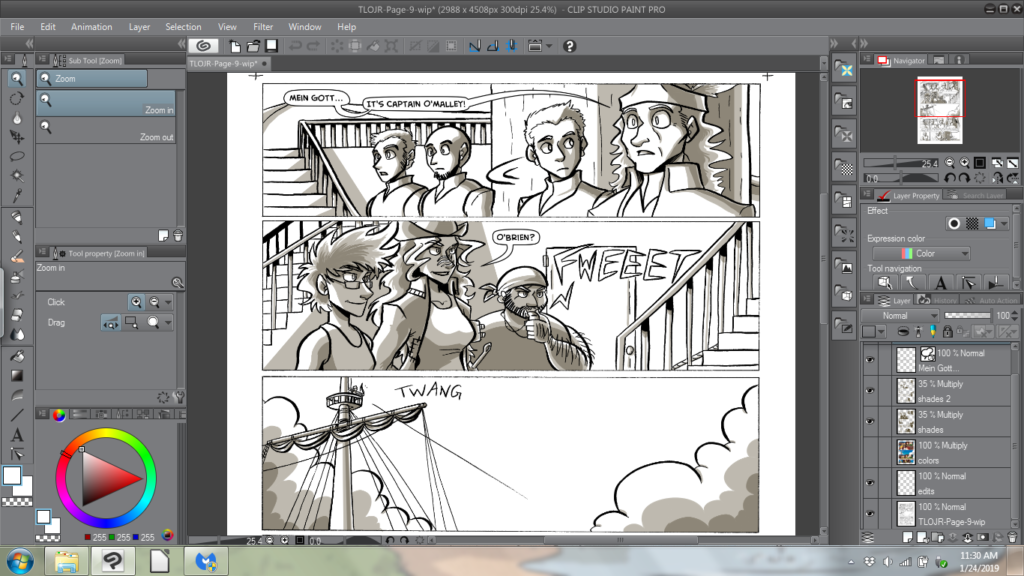
The secret is: I turn the Color Layer off.
It’s super easy: just click the little eyeball on that layer and boom – it turns off.
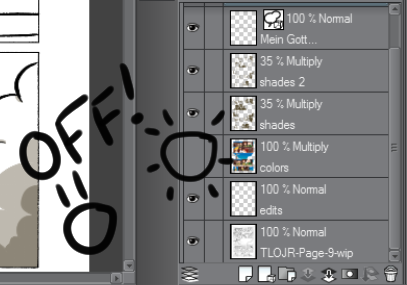
This has made shading A LOT easier. My Bucket tool no longer tries to fill in a space that’s the same/similar color to the shade color.
Also – it has made looking at what I’m shading WAY easier.
I tend to include a lot of dark colors in my pages. That makes shading a thing pretty tricky to the naked eye. So turning the Color layer off has made it far easier to judge how far shadows need to go.
Another plus is if I wanted to make a black and white version of a color comic, this cheat makes it easy.
I hope this helps you in your creative process.
Thanks for reading!
You. Are. Awesome.
